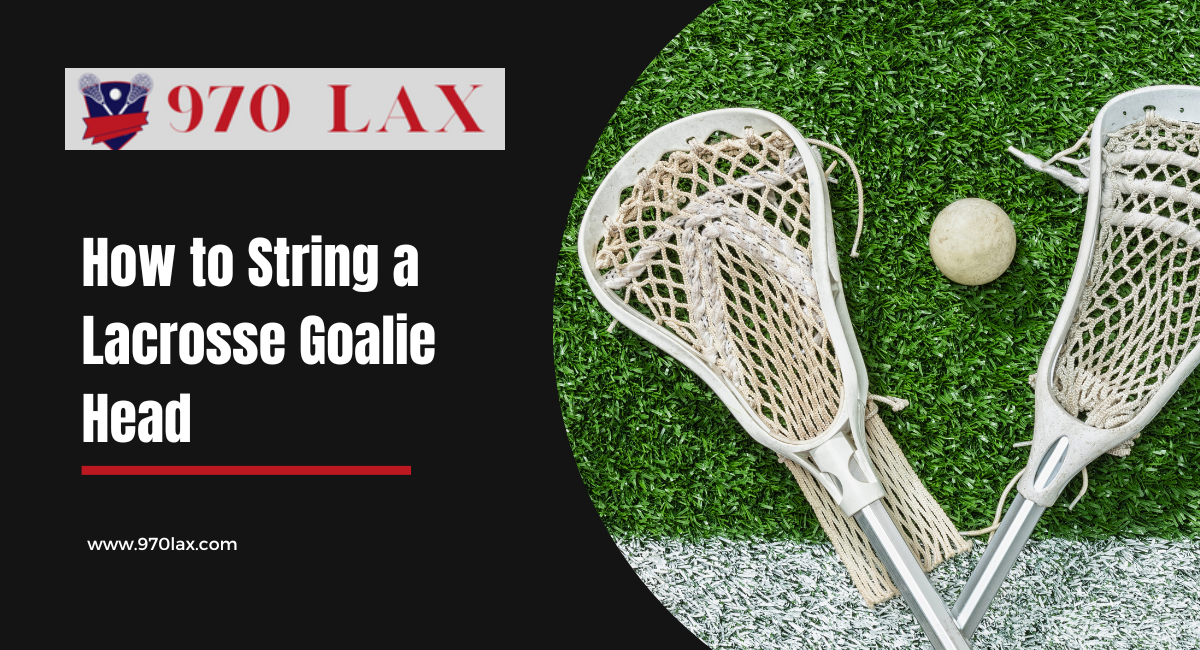
Stringing a lacrosse goalie head is a crucial skill that every goalie needs to master. Proper stringing not only affects the way the ball is handled but also plays a significant role in the goalie’s ability to make saves. In this guide, we’ll take you through the step-by-step process of stringing a lacrosse goalie head, ensuring that you have the knowledge and skills to optimize your game between the pipes.
Materials You’ll Need
Before we dive into the stringing process, gather the necessary materials. You’ll need:
- Lacrosse Goalie Head: Ensure you have a good-quality goalie head with pre-drilled holes for stringing.
- Mesh: Choose the mesh that suits your playing style. Traditional, soft, or hard mesh can all work for goalies, but preference varies among players.
- Leathers or Strings: Leathers or strings are used for the sidewall and bottom string. You’ll need these to create the pocket.
- Screwdriver or Awl: You’ll need a tool to punch holes through the mesh and stringing holes in the head.
- Scissors: To trim excess string and mesh.
- Lighter: This is used to heat-seal the ends of the strings, preventing fraying.
Now that you have all the necessary materials let’s get started with the stringing process.
Step 1: Preparing the Goalie Head
- Attach the head to your lacrosse stick shaft, so it’s easier to work with.
- Examine the head to find the top and bottom stringing holes. Typically, there are 10 sidewall holes and 4 throat holes.
Step 2: Stringing the Bottom String
- Start by tying a knot at the end of a piece of string or leather.
- Thread the knotted end through the first bottom hole from the inside of the head and pull it through until the knot is secure.
- Bring the string across the front of the head and then thread it through the corresponding bottom hole from the outside.
- Repeat this process for all four bottom holes, making sure the string is tight and even.
Step 3: Creating the Pocket
- Begin by attaching the mesh to the head by looping the top row of diamonds over the top of the head. Use the sidewall string for this, making sure it’s secure.
- Start by attaching the mesh to the head with the top row of diamonds over the top of the head. Use the sidewall string for this, making sure it’s secure.
Step 4: Sidewall Stringing
- Begin by threading your sidewall string through the first sidewall hole from the outside of the head.
- Pull it tight and then loop it through the first diamond of the mesh.
- Continue to loop the string through the sidewall hole and mesh diamonds, maintaining even tension throughout.
- Repeat this process for all 10 sidewall holes, making sure the pocket is shaped correctly. The pocket should be deep enough to cradle the ball but not too deep that it’s illegal.
Step 5: Top String
- The top string will help define the pocket’s shape and tension. Start by threading a piece of string through the top diamond of the mesh.
- Then, weave the string through the top stringing holes on the head, alternating from outside to inside.
- Ensure the mesh is snug but not too tight. Adjust the tension until you are satisfied with the pocket’s depth and shape.
Step 6: Final Adjustments
- After the top string is in place, make any necessary adjustments to the sidewall and bottom stringing to fine-tune the pocket to your liking.
- Trim any excess string and heat-seal the ends with a lighter to prevent fraying.
Choosing the Right Mesh and Stringing Style
To become a proficient goalie, you must find the right combination of mesh and stringing style that complements your playing style. As a goalie, you might prefer softer mesh to help control rebounds or opt for harder mesh for durability. Experiment with different sidewall patterns and pocket depths to find what works best for you.
Fine-Tuning Your Game
Once you’ve strung your goalie head to your liking, it’s essential to practice and fine-tune your skills. Your stringing setup will play a significant role in your game, but your agility, reflexes, and decision-making are equally crucial. Work on your positioning, communication with the defense, and mastering various save techniques to become a formidable presence in the crease.
Conclusion
Properly stringing a lacrosse goalie head is essential for any goaltender looking to perform at their best. Remember that stringing is a personal preference, and it might take some experimentation to find the pocket that works best for you. Once your goalie head is strung to your liking, practice and experience will help you fine-tune your skills and become a formidable presence in the crease. So, go ahead, string your goalie head, and get ready to make those game-changing saves! Your goalie head is your most essential tool, so string it with care and precision to ensure you’re always at the top of your game.
Read More: Why Do Women’s Lacrosse Players Not Wear Helmets?


